
How to use CMSClient software for Smart HD Cameras?
CMSClient software allows user to monitor multiple smart IP camera from any Windows PC. The software is compatible with Windows XP, Windows 7, Windows 8 operating systems. It totally supports monitor up to 64 cameras simultaneously. Similar to CoT Pro App, the CMSClient software allows user to record video footage on local computer, 2-way voice intercom, snapshot, remote config, pan & tilt rotation etc.
Download the CMSClient software: Download Link
How to use the CMSClient software?
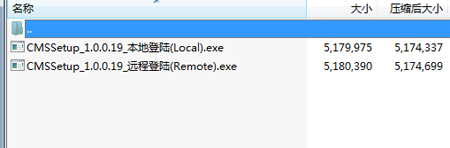
After download the CMSClient software file, click CMSSetup_1.0.0.xx.exe to install the software in your computer. The software pack includes two different versions, the one is local, the another is remote. [Remote] means you will use remote account to login. [Local] means you will not use any remote account to login.
- Local version, you need to use default account info (admin / [Empty password]).
- Remote version, you need to register a new account or registered an account in Smartphone App.
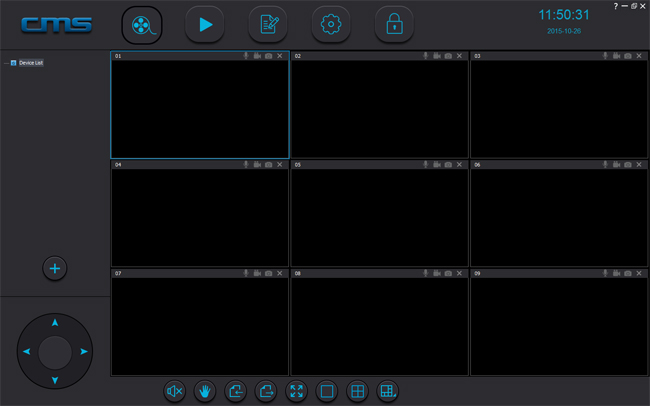
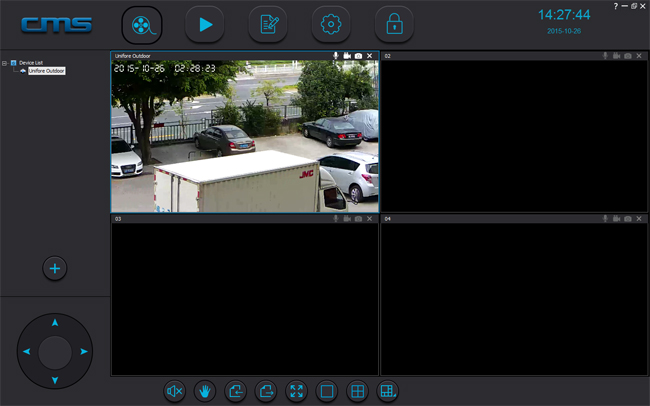
After login, you can see the software UI, on its tool bar, you can find menus including preview, playback, log, cofig, lock. Preview allows users to watch live video, playback is where you can find the recorded video clips, Config allows you to choose recording path and edit accounts. Lock and unlock can disable/enable administrator permissions.
On the left bar, device list will shows the added cameras, the Plus icon allows user to add new cameras quickly. Direction arrows are pan/tilt rotation menus. On the footer, there are also several quick menus including mute, hand tool for pan/tilt rotation, previous page, next page, full screen, 1 split view, 4 split view, multiple split view.
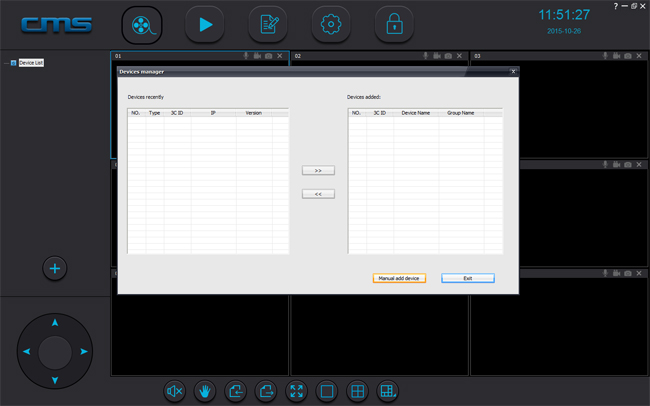
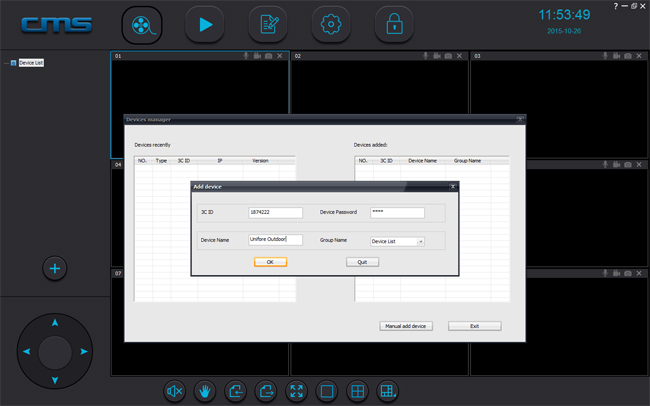
Click the large size "+" to add new camera. The CMSClient will list the online cameras in local network. For remote network cameras, you need to click "Manual add device". Another "Add Device" window will pop-up. Fill the device information, then click "OK" to add new cameras into the software. 3C ID is the camera's ID number, password is the camera's password. Device name can be customized.
If you want to test this software, you may visit this webpage: http://www.unifore.net/category/home-ip-camera.html to find demo accounts.
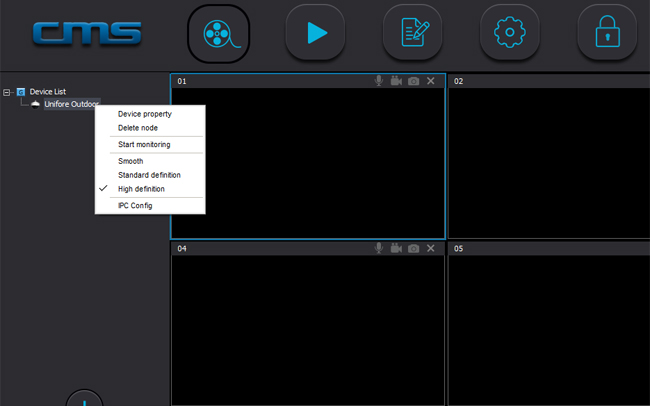
On the left bar, you can find the newly added camera. Double click it, you can start to watch live video. Using right click, you can find the available options including Device property, Delete node, Start monitoring, Smooth, Standard Definition, High Definition, IPC config.
In preview window, CMSClient provides extra four clickable icons including Intercom, Record, Snapshot, Stop monitoring.
How to remotely config smart IP cameras?
The CMSClient software permits users to config smart IP cameras remotely. Selecting the camera you want to config, right click mouse, then choose [IPC Config]. Now, you will see Network and Recording tabs.
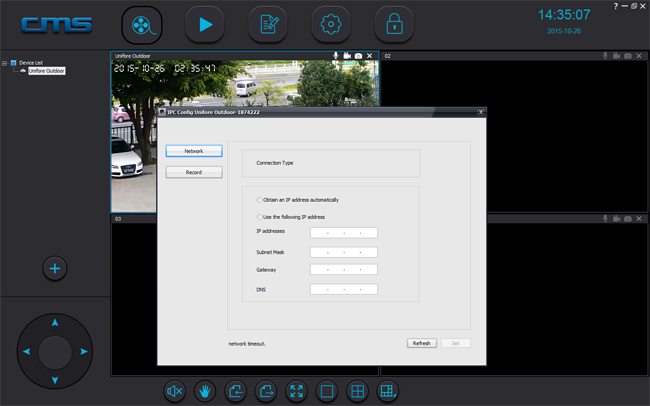
In order to get a fixed IP address, you can use assign an local IP address to the camera. This can prevent it from being offline every time your router changes setting. As default setting, the network camera will record standard definition video clips. Go to Recording tab, you can switch to High Definition recording mode.
This CMSClient software works with intelligent network pan&tilt camera and intelligent network cube camera from different brand names including LEMFO iWatchs Camnoopy TEQIN DBPOWER.